By selecting a Job Card, the following detail page is displayed.
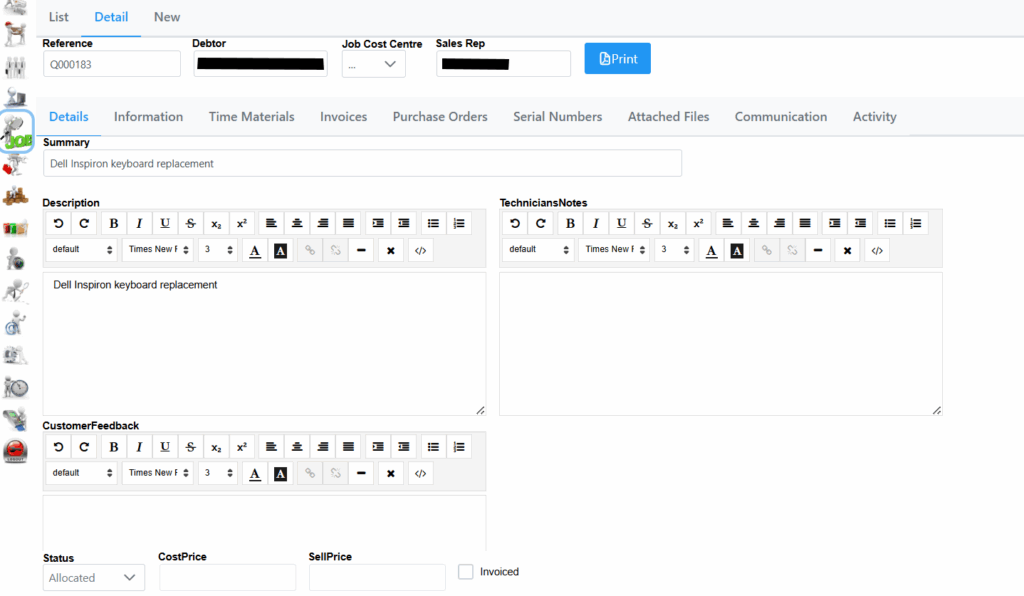
The top heading shows details such as the Job Card number, the Debtor, Job Cost Centre and also the Sales Rep.
Description box displays content related to the Job Card.
More details can be captured like Technician Notes or Customer Feedback.
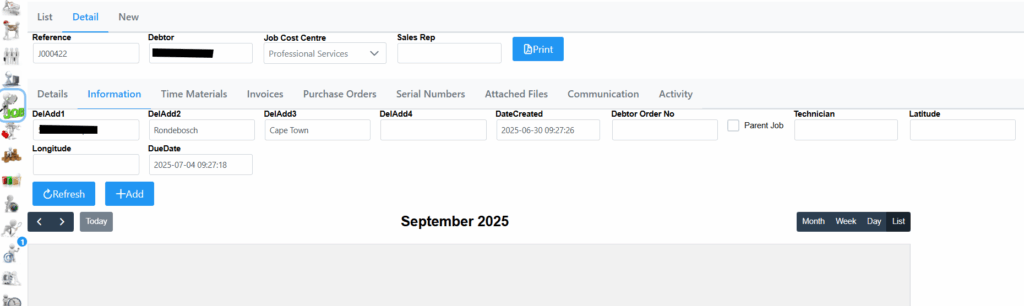
The information tab will list the address if it has been captured. You can also Add an appointment.
Adding a new appointment brings up the following screen.
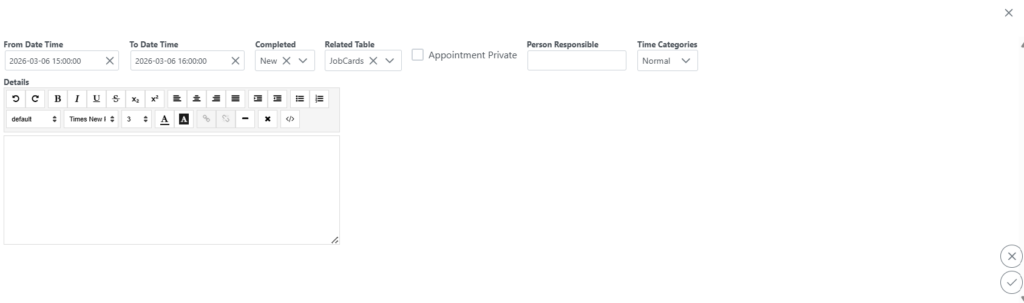
Here specify the From and To date, the Person Responsible by typing the first few characters in the list, and the Time Category. Time Categories are Normal, Overtime, Sunday and Public Holiday which rates are already pre-set in the system. Selecting the Appointment Private tick box will make the details private so only you and your manager/HR will be able to see it e.g. having a DR’s Appointment and so on. Input necessary details in the Details windows, remember to click submit to save changes.
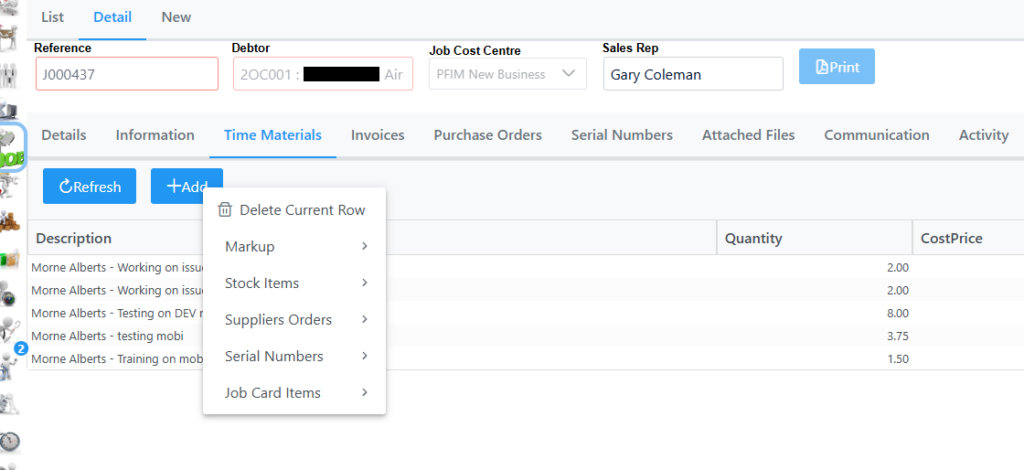
The Time Materials tab is where goods are allocated to the Job Card, couple of options are available. By selecting the Add button the following screen is shown.
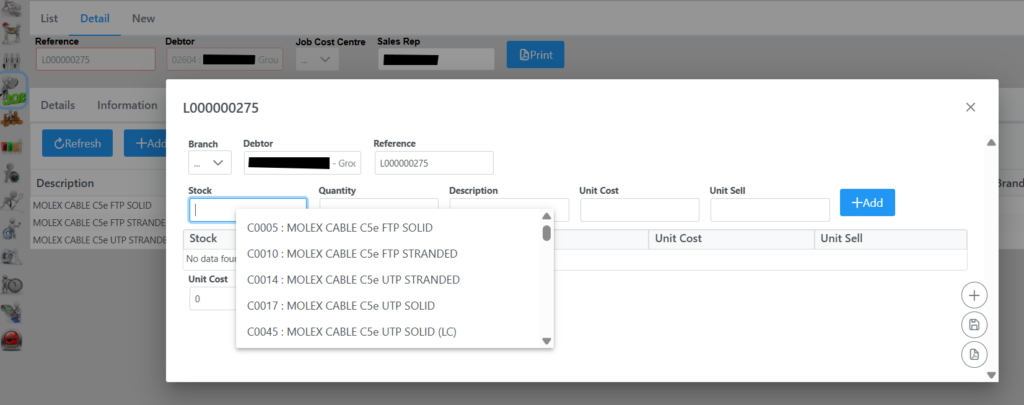
On selecting Stock Item Create picking Slip the following window will open where stock items can be added accordingly. Type in the first few characters of the stock item in the stock field to bring up a list to choose from, once selected and quantity specified, click the + sign and then Save where a field will pop up to add a Description for the picking slip.
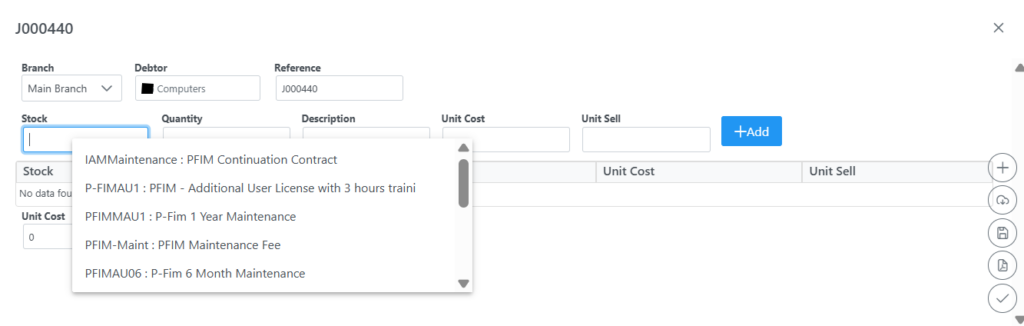
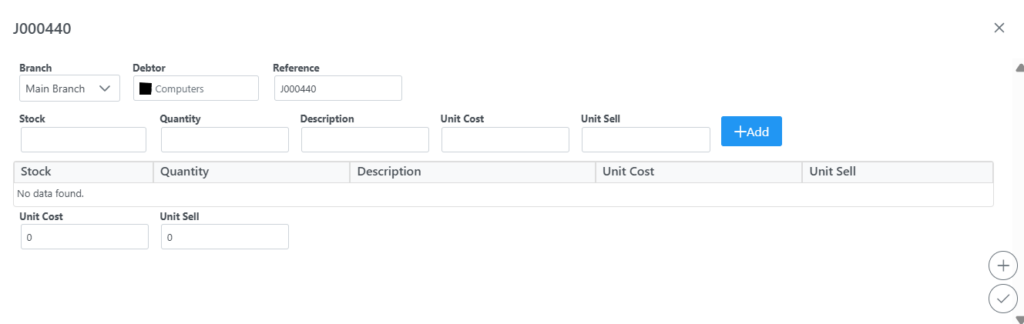
Selecting Stock Items Issue to Job Card from stock will bring up the following window where you can type the first few characters in the Stock field to bring up a list. Once item is selected and quantity specified click Add. If more stock needs to be added follow the same procedure. Once all items have been added you can click the Save button and Submit.
On selecting Stock Items Return Goods to Stock the following window will pop up where you need to input first few characters in the Stock field, select the desired stock and quantity needing to be issued back to stock, click add and submit.
Selecting Supplier Orders Create New Order From Supplier adds the ability to create and link a Purchase order to the Job Card, see the Purchase Order section for more info.
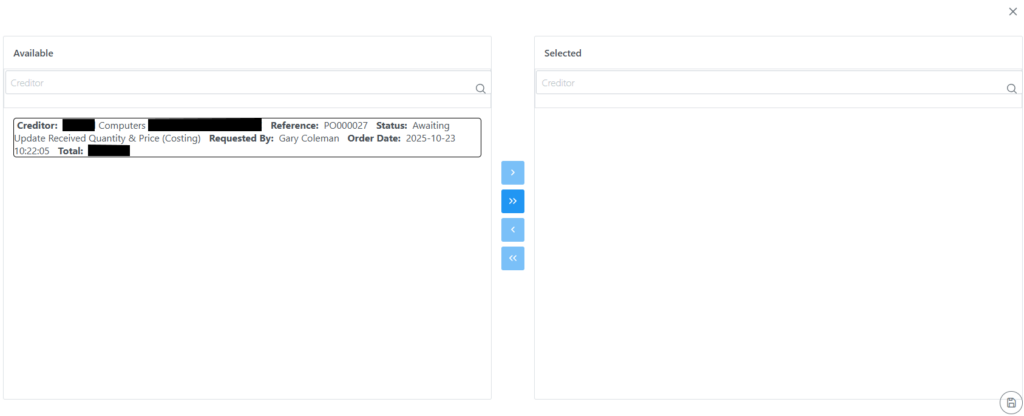
Selecting Supplier Orders Add / Remove existing order to job card will bring up the following screen where you can either add an existent order related to the JC, or remove an order.
Selecting Suppliers Orders Edit / View / Print Orders From Supplier(s) allows to do exactly that to any orders attached to the Job Card.
Selecting Suppliers Orders Print Order List for this Job Card will open up a pdf list of all orders linked to the Job Card in printable format.
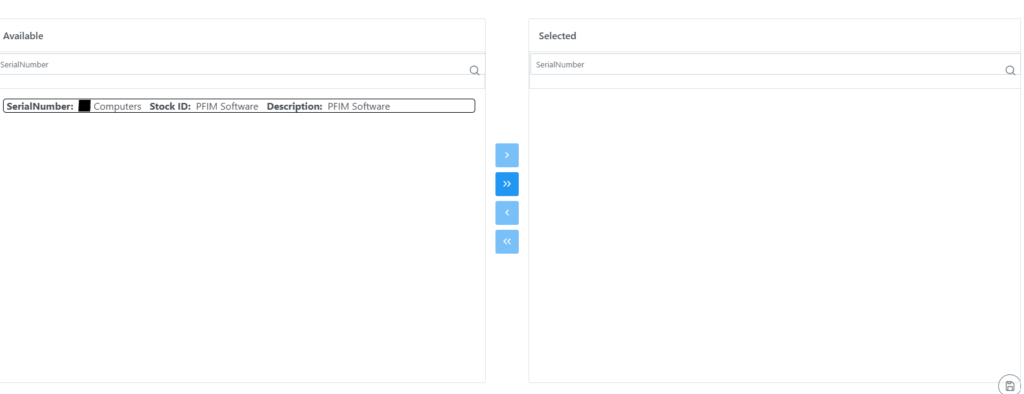
Selecting Serial Numbers Add Units to Job Card will bring up the following screen where a serial number(s) already created in the Customer can be added. Select from the left window and drag to the right, remove a serial number by selecting from the right window and dragging it to the left. Remember to click the save button.
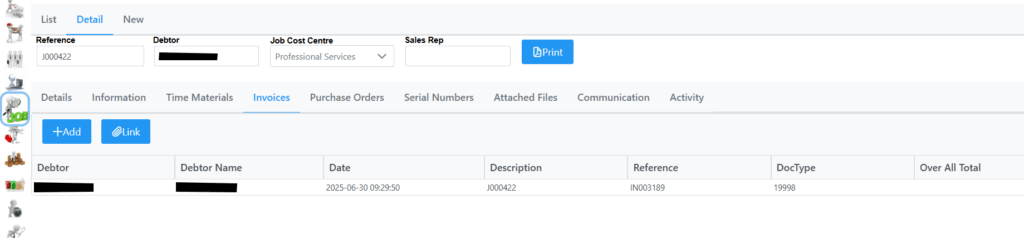
The Invoices tab gives the ability to Add a new invoice which will take you to the Point of Sale screen where all line items from the Job Card will already be populated, or Link an existing Invoice. For more info on Invoicing see the Point-Of-Sale section.
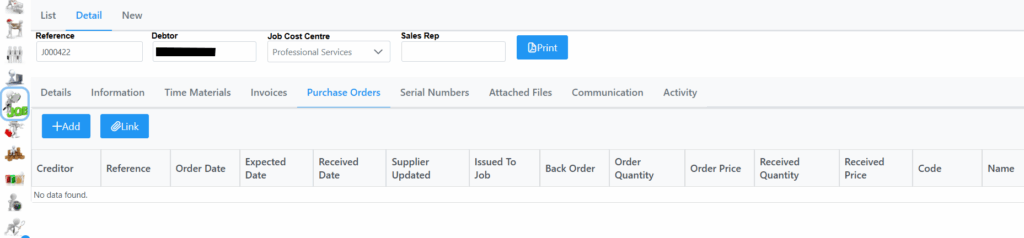
In the Purchase Orders Tab Add a new Purchase Order or link one if there currently is one available related to the Job Card. See the Purchase Order section for more details.
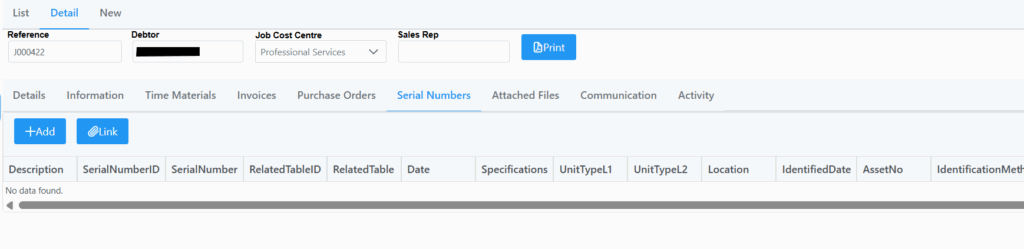
On selecting the Serial Numbers tab, the following screen is shown. Here any serial numbers linked to the job is visible. You can also Add or Link a Serial number.
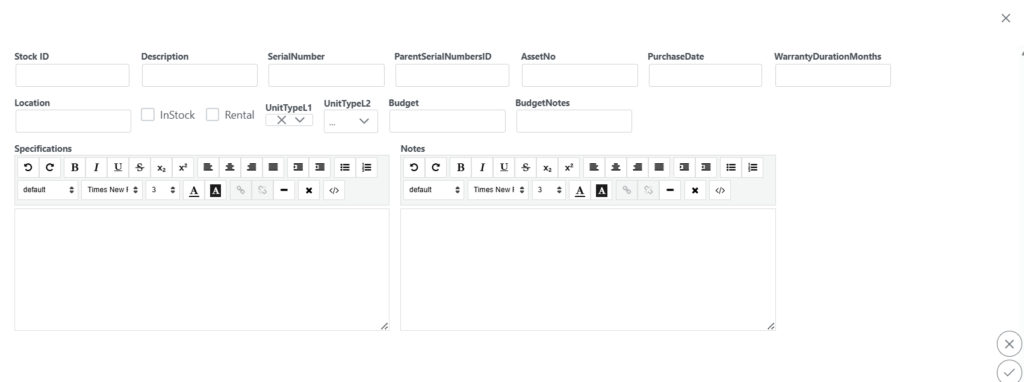
On adding a serial number, you will be presented with the following screen to capture the details. Remember to click submit in the bottom right corner.
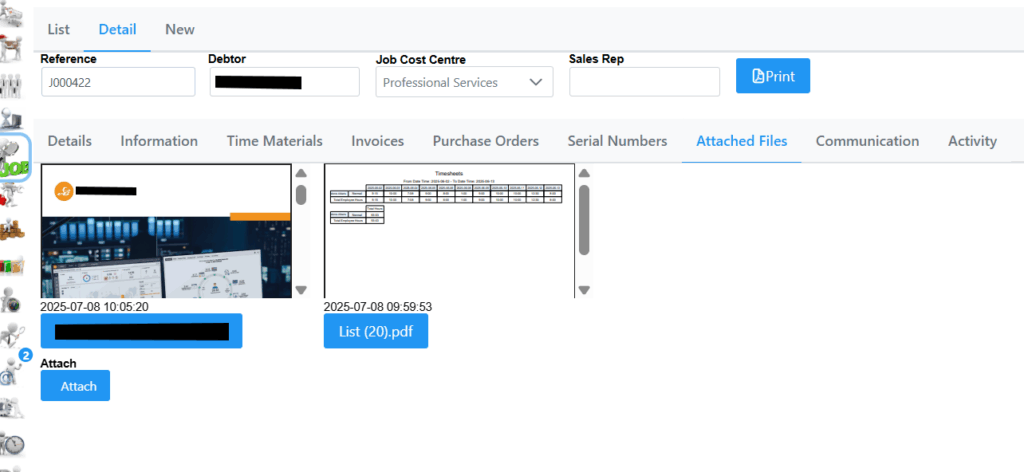
On the Attached Files tab, the following screen is shown. View already attached files or Attach new files relevant to the Job Card. The Attachment button will only be available once a Job Card is in any other status than waiting to be allocated.
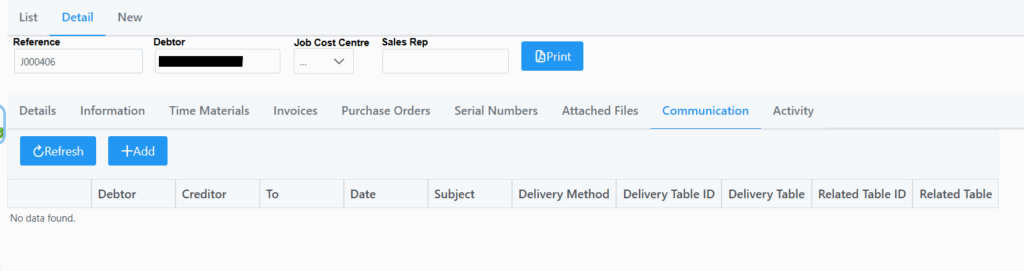
On the Communication tab the following screen is shown. View any communication details related to the Job card.
Selecting Add will show the following screen where outgoing communication related to the call can be added. See Communication section for more info.
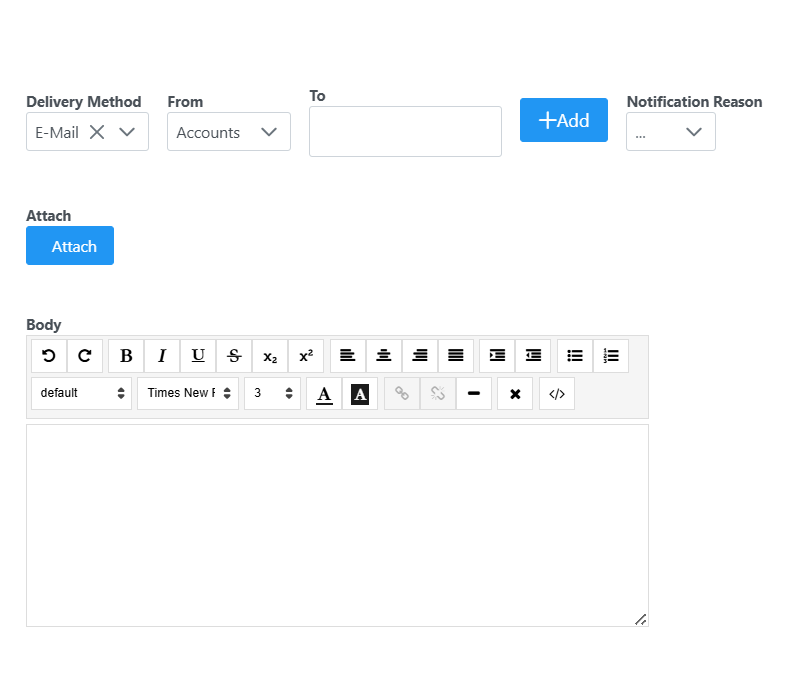
Delivery Method: E-Mail or Cell Phone.
From: selection of outgoing email accounts linked to your system.
To: recipient.
Notification Reason: 6 templates to choose from which has been predefined and customized.
Add attachments to the communication by selecting Attach. The body can be filled out with necessary details. Once details are captured, a Send button will appear which is clickable. The notification will be sent out and logged against the Job Card. View it by clicking the Refresh button.
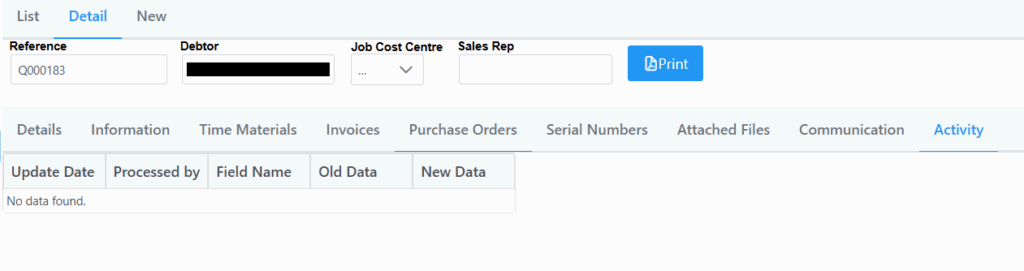
The Activity tab shows the following screen with any related activities and is only visible if you have access.