When sellecting Purchase Orders, you are met with the following filter
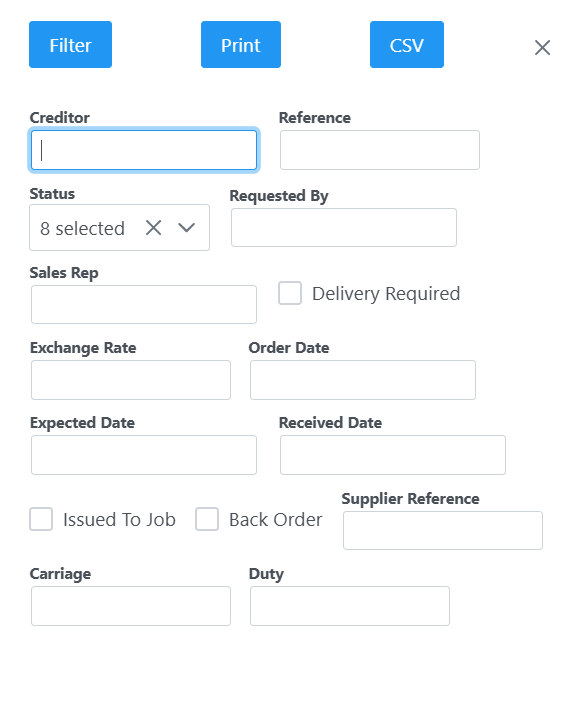
Filling in the key words and hitting filter will bring up any Purchase Orders related to the filter. Or select Add to create a new Purchase Order.

When adding a Purchase Order you will see the following screen.
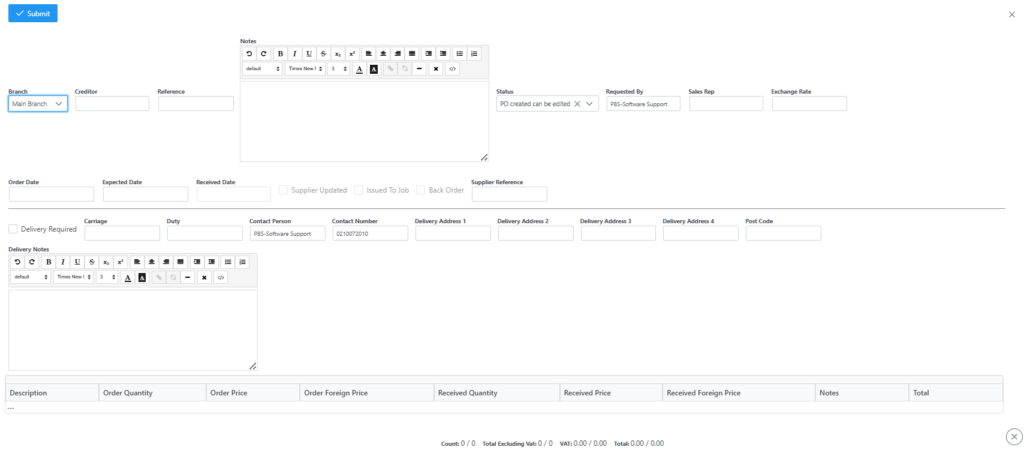
Typing the first few characters of the Creditor name in the Creditor field will bring up a list of selectable creditors. Once selected, a Reference will automatically be created for you. This will be the reference you supply to your Supplier. Fill in the notes section and all other fields applicable. Once those details are captured, click Add button the following screen will appear.
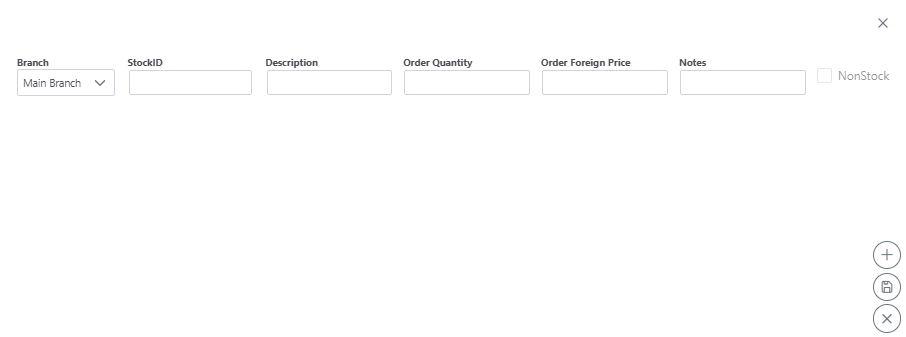
By typing first few characters of a stock item in the StockID field, a list of items will show which you can select, once selected you can alter the description, set quantity and price. Notes can also be utilized. Once details are captured, click the + sign to add item to the order. If more items need to be added, follow same procedure. Once all items are added, click save to save the changes to your order. If all information is correct on the Purchase Order, click Submit on top left corner.
Once submitted the Order will go into an Approve/Decline state and status Awaiting Approval as seen in the next screen.
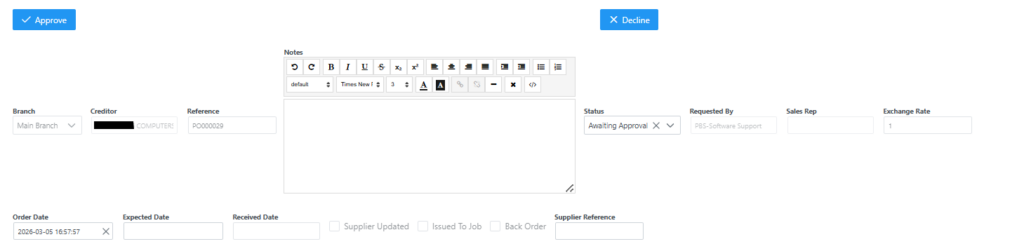
Here the Purchase Order can either be Approved or Declined if you have been given authority to do so. On clicking Approve, the Purchase Order will now go into the printing faze as seen in next screen.
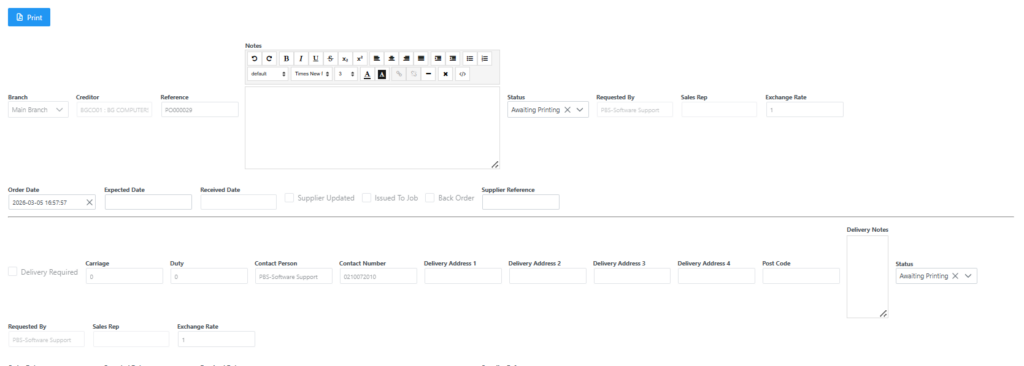
You will see the Status has now changed to Awaiting Printing. Click the print button and the Purchase Order will open for you to print or save.
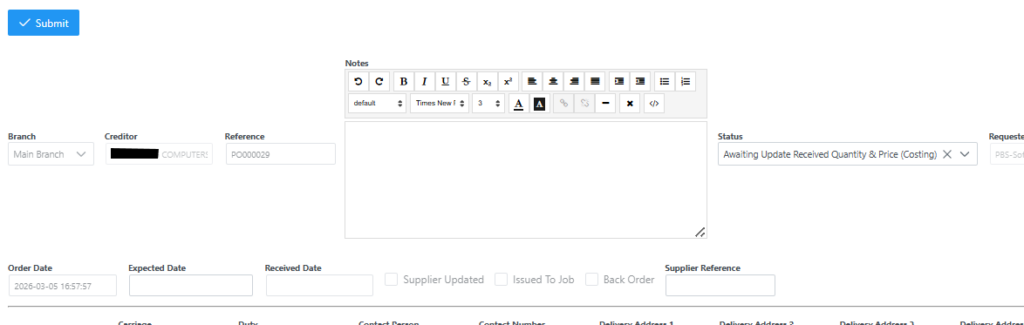
The Purchase Order will then go into the Submit faze and status updated to Awaiting Update Received Quantity & Price (Costing) as seen in next screen.